HDR with hands (Hugin+LuminanceHDR)
To get high-quality HDR images, you do not need a tripod at all, it is quite possible to shoot with your hands. To do this, select the automatic exposure bracketing function in the device menu (setting the bracketing for Canon SLRs), then set the batch shooting mode and set the self-timer for 2 seconds. As a result, we get three frames:

The Hugin panorama build package is a great tool for capturing and retrieving images in HDR format. This software is free and runs on Linux, Windows and MacOS operating systems.
Action sequence:
- In the main window of Hugin in the menu, select "File" - > "New".
- Open the tab "Images" click "Add simultaneously made Snimi", then press the button "create control points".
- In the Optimization tab, select the first action "Positions (incremented...." and run it.
- In the main menu, select "View" - > "preview Window with hardware acceleration".
- In this window, go to the "Projection" tab and select "Straight", then click on the "Fit"button.
- Go to the tab "Moving on the projection plane" and move the image in the window to correct the perspective.
- Select the "Framing" tab, where we set the frame borders. You can also use the "auto-Frame" button.
- Go back to the main window of Hugin, in the "panorama Build" tab, where we click the button "Calculate the optimal size", then check the boxes "first reduce exposures, then combine" and "Wide dynamic range". We start the process by clicking the "Stitch!" button.
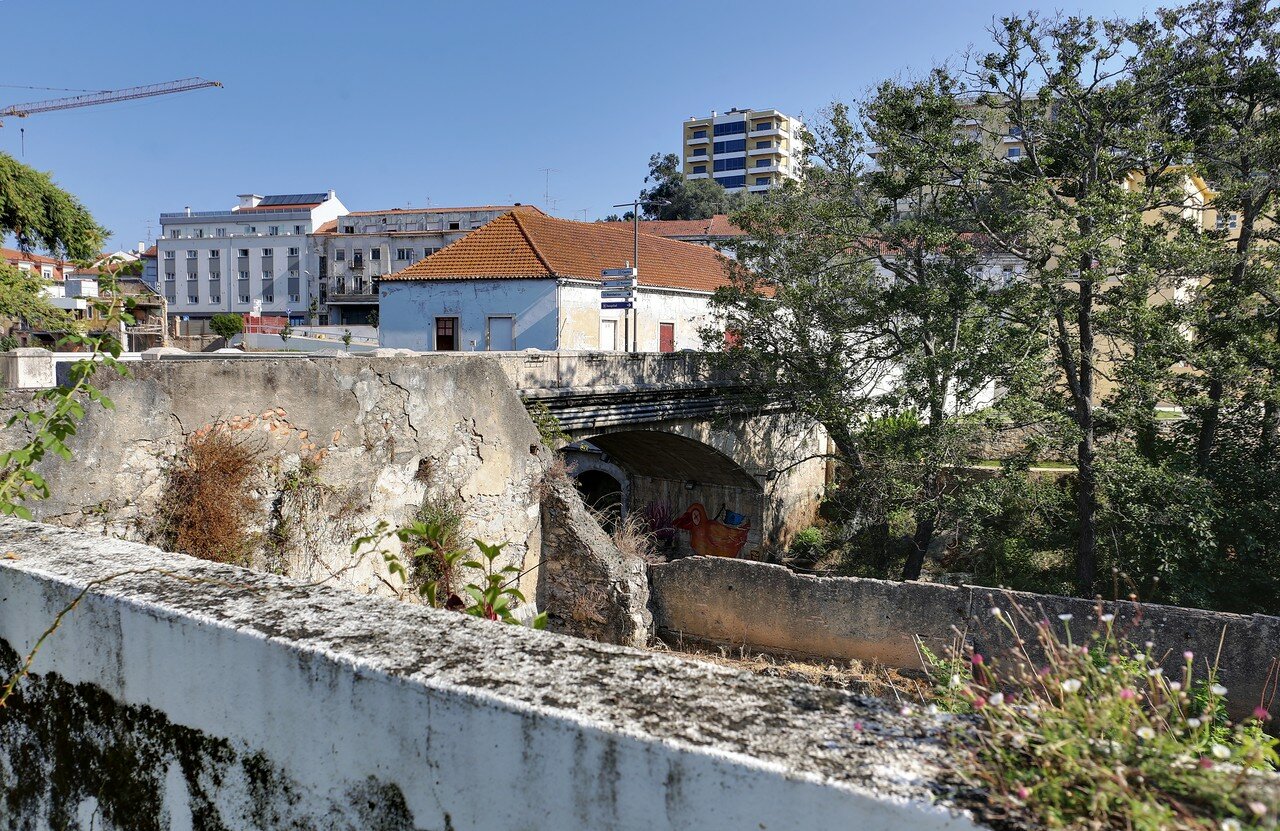
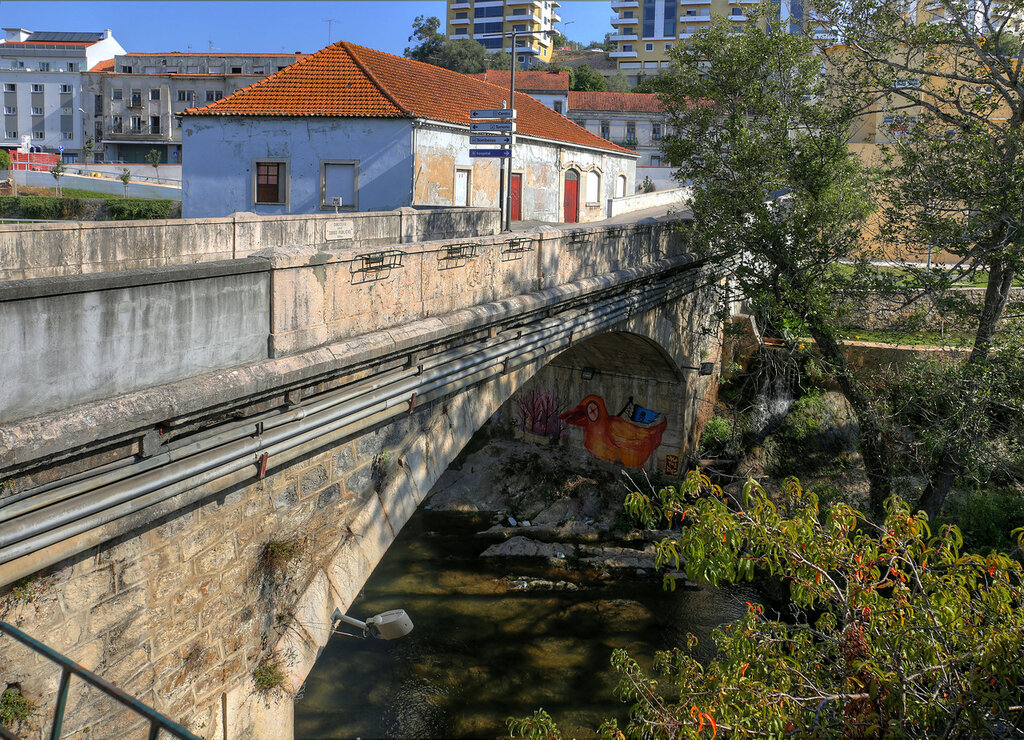
As a result, we have this image. As you can see, in completely dark areas, which would inevitably turn out in such a light, all the details are now clearly visible:

Now a little work with the LuminanceHDR proram, also free and multi-platform. Just run it and drag the file with the exr extension created by Hugin to its window. Then select the desired image size. I want to note that the result of processing strongly depends on this parameter, especially if it is greatly reduced. I always choose the maximum, i.e. the original size. On the right, you can see a dozen processing styles, but only the first and third are useful, in my opinion. . The very first one-Mauntic'06 gives a classic HDR image.

By choosing the third one, Fattal, you can get a very juicy color scheme.

And one more example.

The image is reduced by Hugenin:

Work products LuminanceHDR - style Mauntik'06.

Fattal.

You may find other methods to use, but you can also scroll through the settings and create your own - there are no restrictions on creativity and experimentation here.